MEANDER BOOK PROJECT

It also means that we can re-visit all our stamping goodies to stamp up pages. The main imagery i have used are TIM HOLTZ CLING MOUNTED STAMP SETS in fact this project i also dipped into my stamp collection and used a LOT of older Tim Holtz Stamp sets. Right back to several years ago when i first started to rebuild upo my stamp collection so it just goes to show that stamps have a wonderful shelf life if you look after them. I took the key/lock and screw head from a KANBAN Stamp Set called KEYS. These stamps along with a whole box full of goodies are available from THATS CRAFTY ON LINE. I highly recommend that you book mark and keep calling back to see the wonderful deals that Laura does.
MATERIALS:
2 Manilla Folder - Cardboard stock -Selection of coloured Ribbon - White Stamping Paper - Tim Holtz Stamps - Kanban Keys Stamp Set - Sharp Tipped Scissors - Craft Knife - Double Sided Tape [as narrow as you can get] - Round Edge Punch - Adirondack Dye Ink Pad Pitch Black - Craft Mat - Trimmer - Ruler- Good Clear drying Strong Glue - House Hold Pegs - Paper from your Paper Stash - Pencil and Rubber - 1 inch circle punch - Manilla Tags
LETS MAKE A Meander Book........
 Take 2 Manilla Folders go for the cheapest you can find. Then with a pencil and ruler mark out the following....
 With your trimmer carefully cut out the pencil marks and then where needed score. [Dotted lines indicate where to score]
 Make as many strips as your booklet will need. Remember when folded 2 sections will give you one page.
 As you can see here i have 4 sections. the centre sections will be secured together to form a single page. The outer sections will be used to make the pages that have the top section open so that you can insert a tag. Mark a 'cut-out' with pencil so that you know what page is what. Its easy to get mixed up so make where you can to give a visual aid.
 This is how the end sections will look when you have joined them with the other cut out section.
 I have constructed 2 of 4 strips. All i have to do is combine them together to give me one long strip.
 The completed strip.
 Turn onto to back so that the opened pages are on their sides. This will then help with gluing the opened pages together. These will be flat and not opened.
 This is how your finished phase 1 will look.
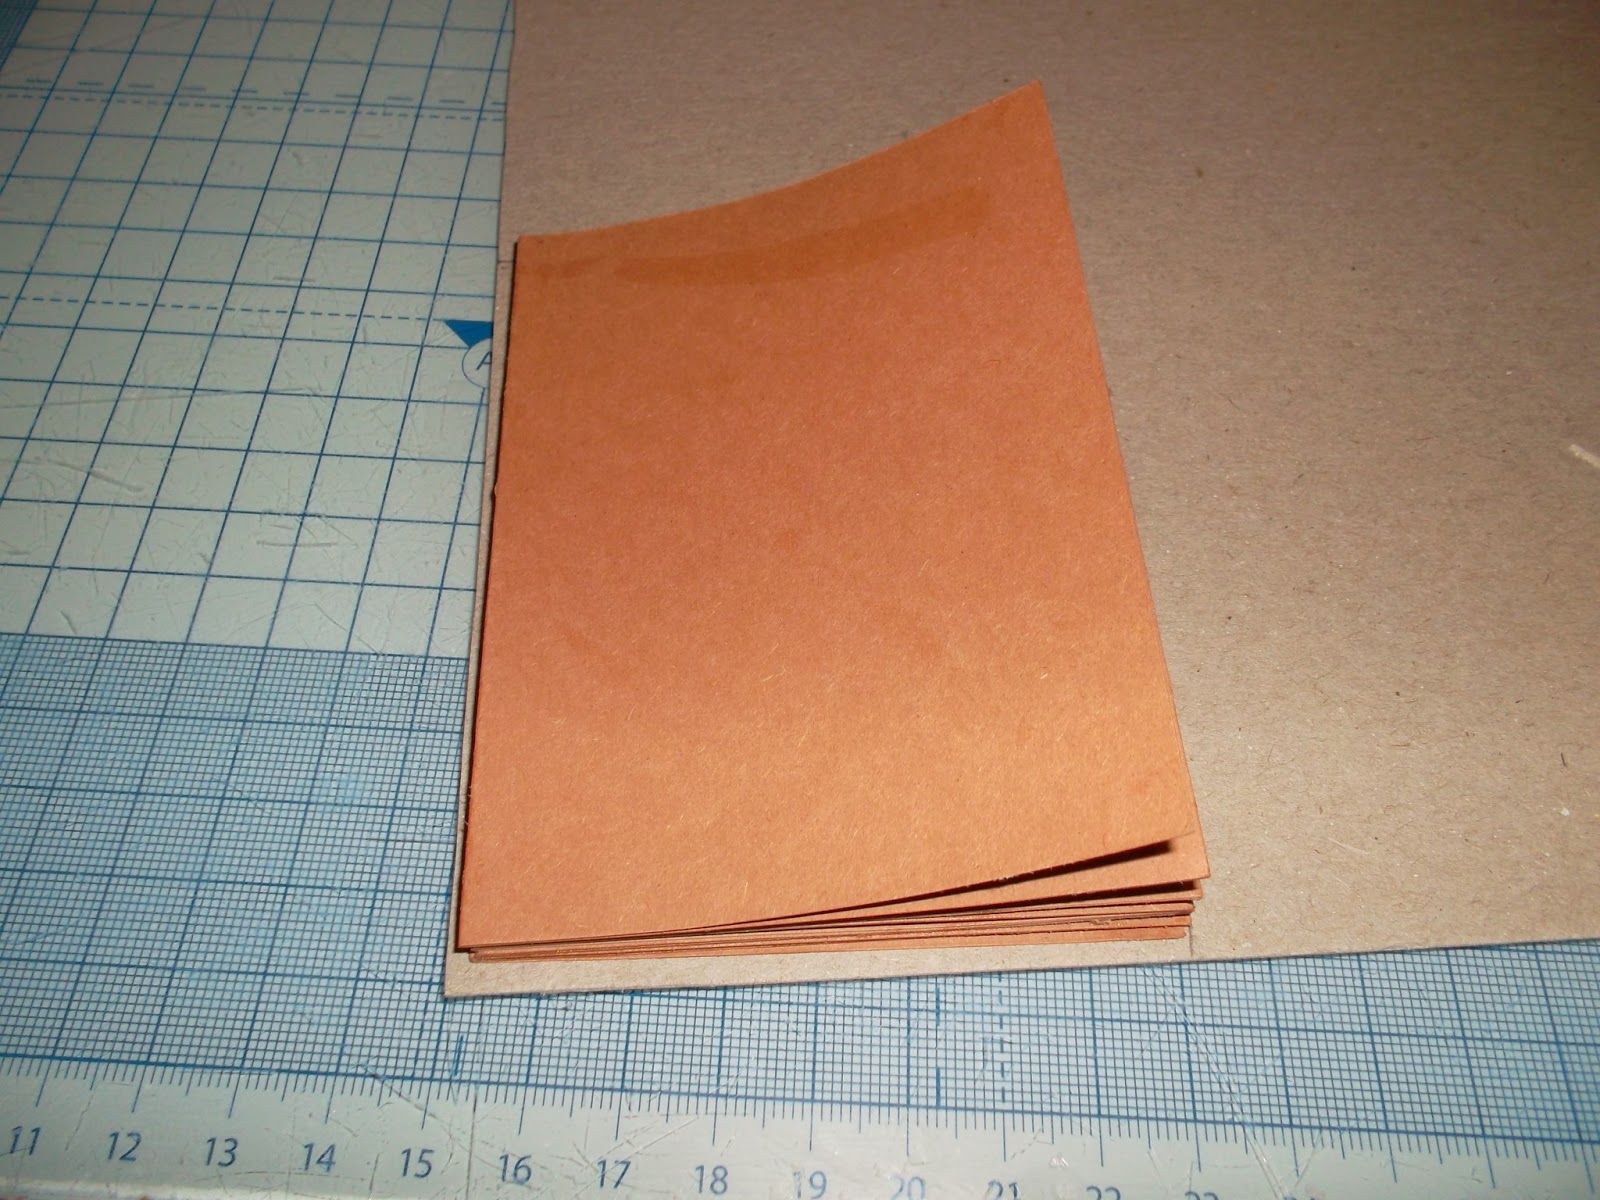 To make your cover place the insides onto a piece of card stock and then allow an edge and mark round.
 Marked section for cover.
 Make 2 covers 1 Front 1 for the back.
 To make the Gusset. Take some card stock mark out the length and then double the centre of your width of the constructed insert to give you the width of the side. Then allow at least 1 inch for each side flap.
 Here you can see how the centre of the constructed pages has been doubled to give the centre section of the Gusset.
 From your paper stash select papers to cover the card stock. Do this with a good strong wet glue as it will give you time to move and make sure one edge is level.
 Front and Back as well as the reverse side covered with paper and then trimmed to size.
 Now then lets take stock of what we have A centre set of pages with opening for tags, Front and Back sections and a Gusset.
 Using double sided tap on the front of the inside pages section this is then secured onto the inside of one of the cardboard front page.
 How it will look after the double sided tape has been trimmed and the corners from that page punched out using the corner punch. Make sure that the side part is level. Also make sure that the space we allowed when cutting out the cardboard is equal and its looking 'Clean and equal'
 Allowed margin all around the three sides. Top/FRONT Side and bottom.
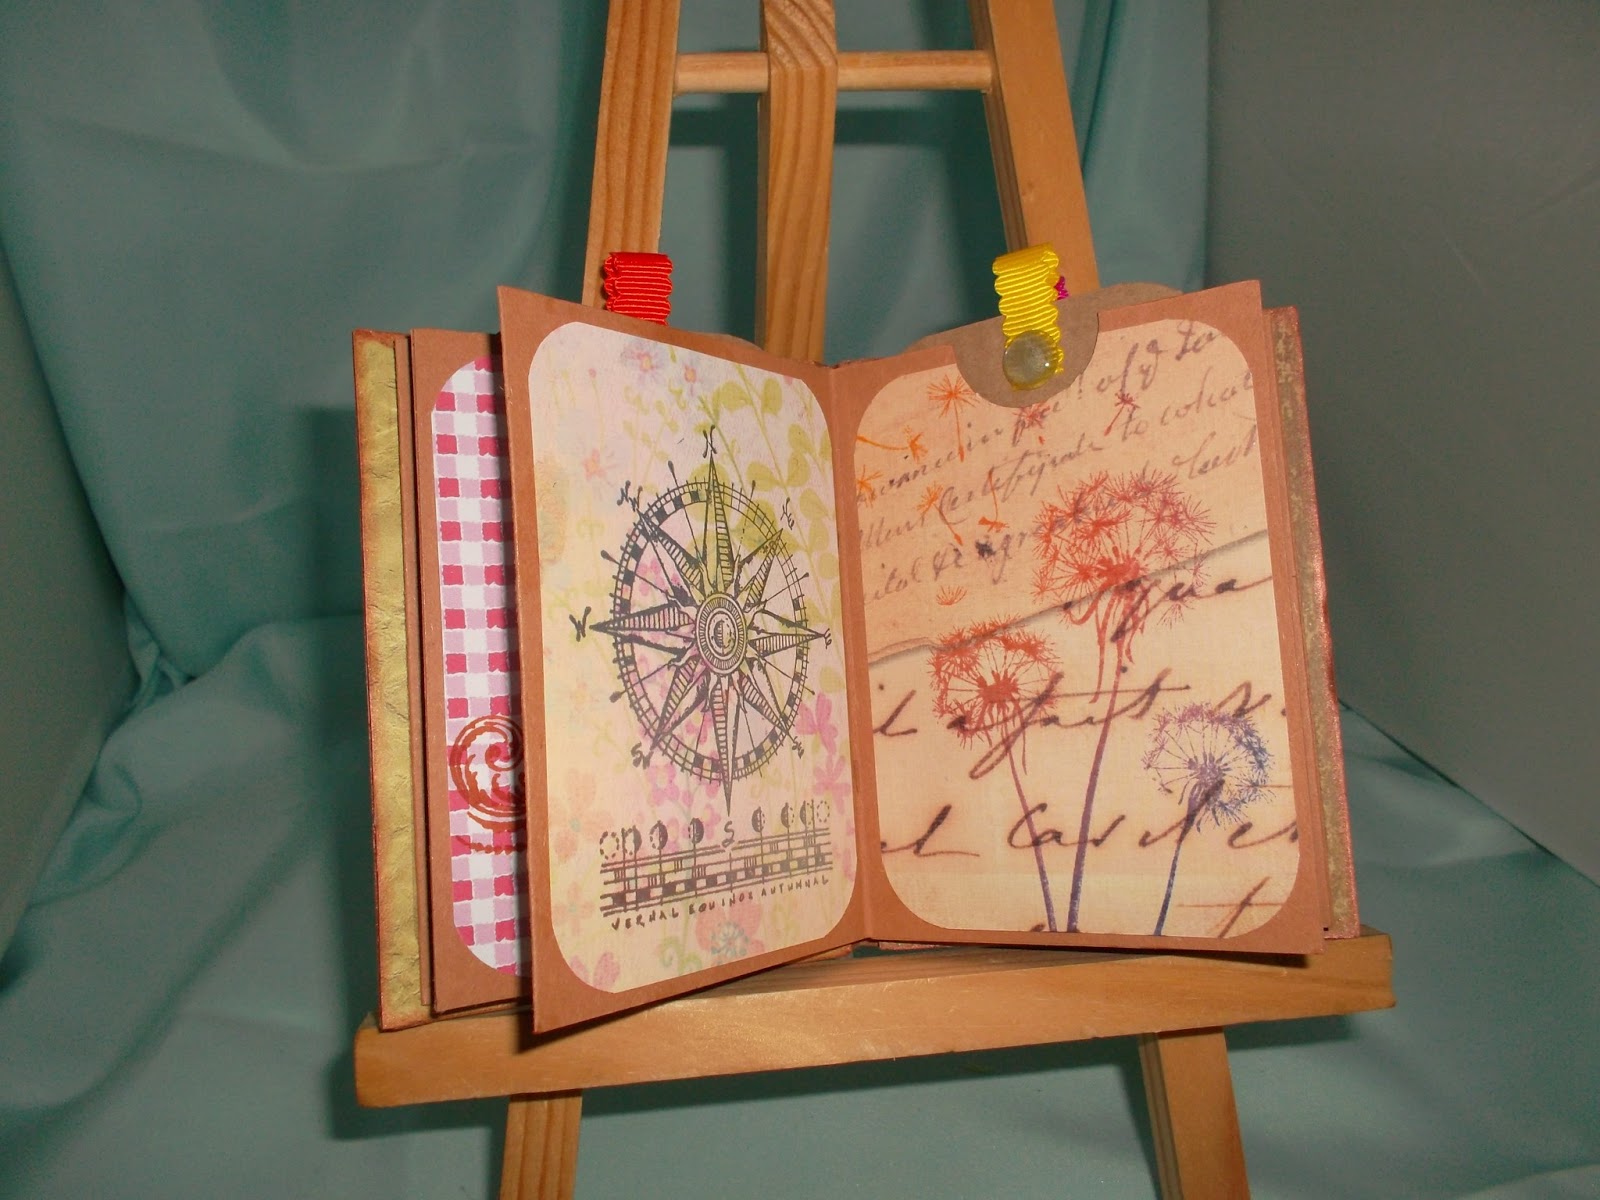
 Make a template from card stock and then dive once again into the paper stash bin so that you can cover each page.
 Take the tags and then trim down to size. You want them to be about half an inch taller than the page that has the opened top.
 Again use a corner punch and then with a piece of ribbon secure into place with the wet glue. A house hold peg will secure the ribbon into place until its ready to be used.
To secure the gusset into place. Place wet glue on the inside of the side that will face the front page and then turn so that the side is face down. Then take the constructed booklet and place into the gusset. Make sure firstly that the front side is pushed up to the glued side. You can do this by placing the facing page face down. Take a acrylic block and just push up against it. Then when your happy with that just open up the booklet so that its not flat but as if it was filled with lots of goodies. We are doing this so that we can secure the inside back of the gusset to the back of our booklet. Turn around face down and you will have to do a little manipulation to make sure that the back is secured against the gusset. [Sorry i have no photos of this part as the camera decided to go home and not play. I will however next time i do a project like this make sure there are photos to show what i mean. However any problems of questions i will get back to you a.s.a.p with the answer.]

I hope that this booklet will give you the opportunity to make small memory booklets so that you can give to family and friends.
Any questions please contact me and i will get back to you as soon as possible.

Enjoy and i would like to see what this post might have inspired you to make....


I like this idea Alan, mmmmmmm now me thinks I may have a go at it .. but must finish a couple of other things first ...Hope your well
ReplyDeleteStunning star card Alan, and a brilliant tutorial. hugs Shirleyxxxxx
ReplyDeleteI just came across some old folders and ALMOST threw them away but grabbed them back and put them in my 'have to use' pile. You gave me the inspiration to cut and fold them up! Thanks for your great instructions.
ReplyDeleteVicky Briggs
Thank you for your kind comments and welcome to my blog. I hope that you will become a visitor and l hope to continue to inspire you in your crafting.
DeleteIf there are any questions about what you have seen or read on my blog please contact me with your questions and l will do my best to get back to you a.s.a.p.
Thanks again and have a fab week
Alan