THE BRAND NEW HAT

Once again i felt drawn towards this very useful SVG Shadow Box set of electronic dies that i had bought. I have been luck enough to buy some stamps from that WONDERFUL stamp designer LYNNE PERRELLA that are produced by PAPERARTSY. This time i wanted to do a inspired by the 'Old Masters Paintings' project and a combination of these stamps let me build up an image that i could then colour in. All the stamps i have used in fact all the materials [apart from the shadow box and Iron Gate] are all available @ THATS CRAFTY ON LINE STORE.
MATERIALS USED IN THIS PROJECT:
Lynne Perrella Stamp Collections LPC001 - LPC005 - LPC012 * Stampers AnonymousSlight Alterations CMS 060 - Spills & Splatters CMS 028 * Graphic 45 Stamp Sets - Ladies Diary 1 * IndioBlu Mega Flakes - Brighton Pier * Sakura Quickie Glue Pen * Archival Ink - Jet Black * Bronze + Gold Craft Acrylic Paint * Ranger Inkssentials Glue and Seal - Gloss * Aleene's Clear Gel Tacky Glue * Claudine Hellmuth Studio Black Gesso * Aqua-Flo Brush Set * Selection of Water Colour Pencils * Tim Holtz Distress Inks - Walnut Stain + Black Soot * Memento Ink Pad - Gray Flannel * Cricut Baby Cutting Machine plus Ornamental Iron 1 Cassette * Heat Gun * Craft Mat * Scrap White Paper * Good White Stamping Card * LOW TACK Masking Tape * Sharp Tipped Scissors * Craft Knife * Soft Pencil and Eraser * Ruler * Friskars Stamping Block * Cutting Mat * Gold Rub and Buff * Card Candi [any colour] *
LETS MAKE A PROJECT......


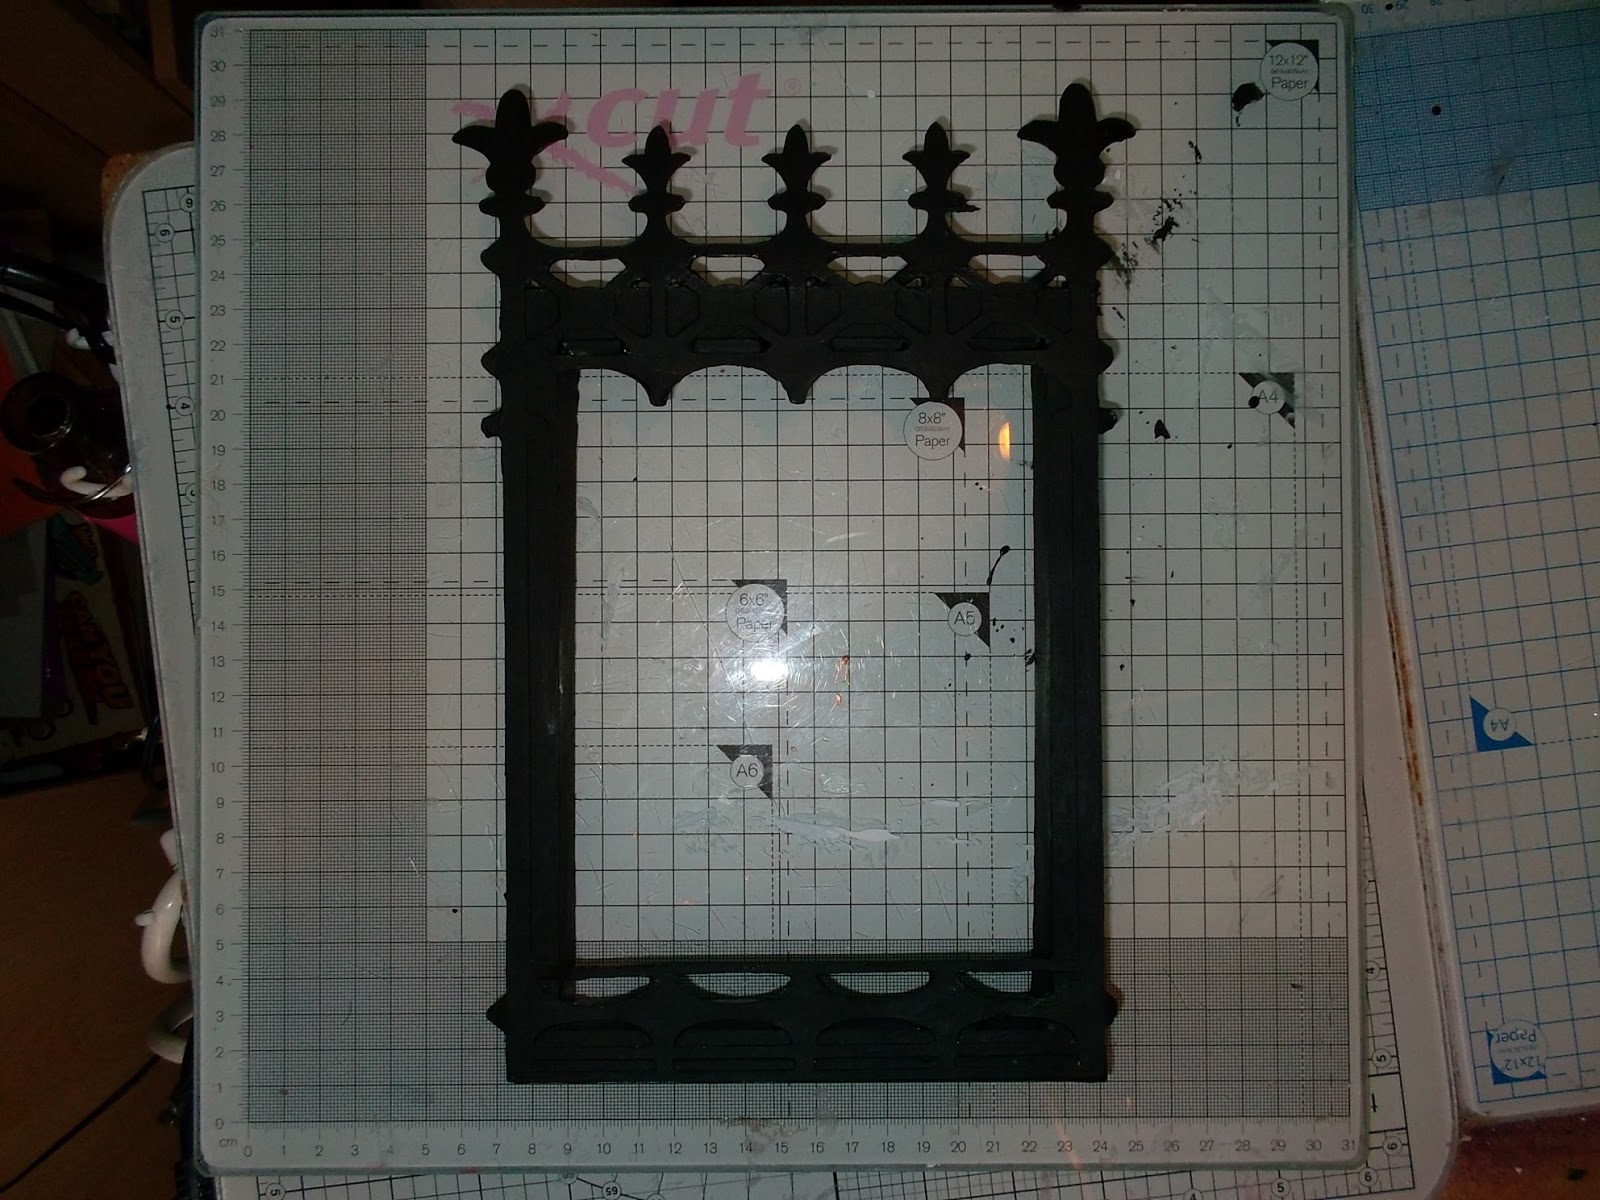
Using the eraser l removed the original pencil marks and then by placing the frame back over onto the card i can then re-mark and make sure then that what ever i stamp onto the surface it is how i want it to be.


By doing this what ever i then decided to stamp onto the surface the main figure wouldn't be ruined. If you can look closely you can see where l over stamped the buildings for the next layer.

The background layer ready to be inked. I find that when lm going multi layered projects this Friskars stamping aid does help with the positioning and then as its on foam feet even slight adjustments can me made mid stamp if your careful. This stamping block does come in 2 sizes and both are invaluable to my crafting.


Enlarge this photo and you will be able to see closely what l mean.
You can also see that the image has been built up with-in the confines of the frame we have used for this project.


I have to now offer up an apology as for some strange reason l went into overdrive and just dived in and finished the colouring of my image. So i'm going to have to talk you through what i did without the aid of a image which is something lm now trying to do more.
The pennant and the background buildings were also coloured in using the water pencils and water brush. The background needed to be something extra to it soil dived into my crafty box and decided to use some Mega Flakes just to give some detail. The Sakura pen lets you lay down even the smallest of areas when using these flakes. So much so i was even able to place golden highlights onto the shell handbag. I think its about time i looked closer at the wonderful way that these flakes can be used. Thinking 'Out-side the box' in a lot of cases.
To add more interest to the background i had to look at how i could age the project without what was going on in the background did not take away or distract the foreground. Firstly l placed the mask i used for the figure back onto my stamped image, then using the distressing stamps l doubled stamped. What i mean by this [and it may have another name], i stamped onto scrap paper pressing quite hard and then when most of the ink had been removed i then stamped onto the background. I was looking for a aged look and i did not want it to look as if it was a fresh stamped image. Using different coloured inks will give a more interesting look rather than just using one hue. That could make the background look messy and not layers. When your happy with what you have done remove your mask and lets start to build up the frame......

Experiment for future projects paint over some scrap pieces of card with white and also black Gesso. Then take several Acrylic paints and then using the same paint and brush see how they differ from each other. When they are dry place them in a 'Help' folder so that you know how different paints look when painted on either Gesso. [There is also a Clear Gesso but that will keep for another project.]
The next few photographs are all about the same thing. But i wanted to include them so you can get a closer look at what i mean. When l started to paint the frame l built up layers of paint quite thickly. Leaving it it dry for a few minutes i then took a heat gun and forced dried the paint. By doing this the effect was the paint started to 'BUBBLE UP' and this gave even more texture. It would also give the feeling of the 'Faux' metal being pitted and flaked.

To try this out once again experiment using the same card paints etc., so that you know what will and will not work. Different cards will give you small but different effects as they may have a higher or lower heat threshold.


All that's left to do now is take the Gold Rub and Buff and place that onto the frame. Be careful when placing it on the Flourishes at the top. Place them onto something that will take the weight and will allow you to rub and buff. This cream is wonderful and when buffed gives a polished metal look. Take your Card Candi and use this cream. It will change the colour but its best to try to keep to a similar colour hue.
Now for the final part. Securing the back onto the frame. Firstly take some card and using the Black Gesso give it a layer of colour. This will become the back of your frame. Then take the stamped image and secure that onto the dried pained card uncoated side up. As its been treated with several techniques it could be a little warped so use a strong clear glue secure onto the card and then place some Teflon or greaseproof paper on to the top and then lay a few books on top of that. Let this 'set' or 'cure' for a few hours or even over night.
Then you should have a flat piece of art work to then secure onto the back of your frame. Using a ruler add an outer edge to the face of the image and then using the eraser carefully remove the pencil marks from the inside. What your after is to have to lines that will let you cut it out and fit onto the frame matching the outer edge and making it look 'flushed' .
Again for the final stage on the construction you use a good strong clear glue, this will give you time to manipulate the back into place and then when your happy lay it down and place a few 'lighter books' onto the front. This will help in the back adhering to the frame and become a tight bond.
The last thing is to when the back is secured give the back a coat of the Glue and Seal. This will just protect the back and also give it an extra layer to strengthen the frame. If you wanted to you can give the whole frame a coat, however if you were to do or even think about doing it i would do this before the back had been secured into place.
There you have it. i wanted to make a project that took inspiration from the Old Master's, when Women and Men thought of nothing about keeping a bird and a nest in their Wigs.... where 'Gentle folk had to be sewn into their clothing for the day and dare not sneeze! lol
I hope that this project will inspire you to dig out those pencils again and have a play. Sometimes we do forget about other colouring mediums.
Any questions please send me a message and i will get back to you A.S.A.P.
Thank-you for reading this blog.


Just found your blog and love your instructions, they are great! I like the frame to your art, it looks like a crown and it fits with your title of this project.
ReplyDeleteAn astonishing piece of stamping and use of the LP stamps.
ReplyDeleteWishes
Lynne