BUSY BEE's COLLECTING HONEY

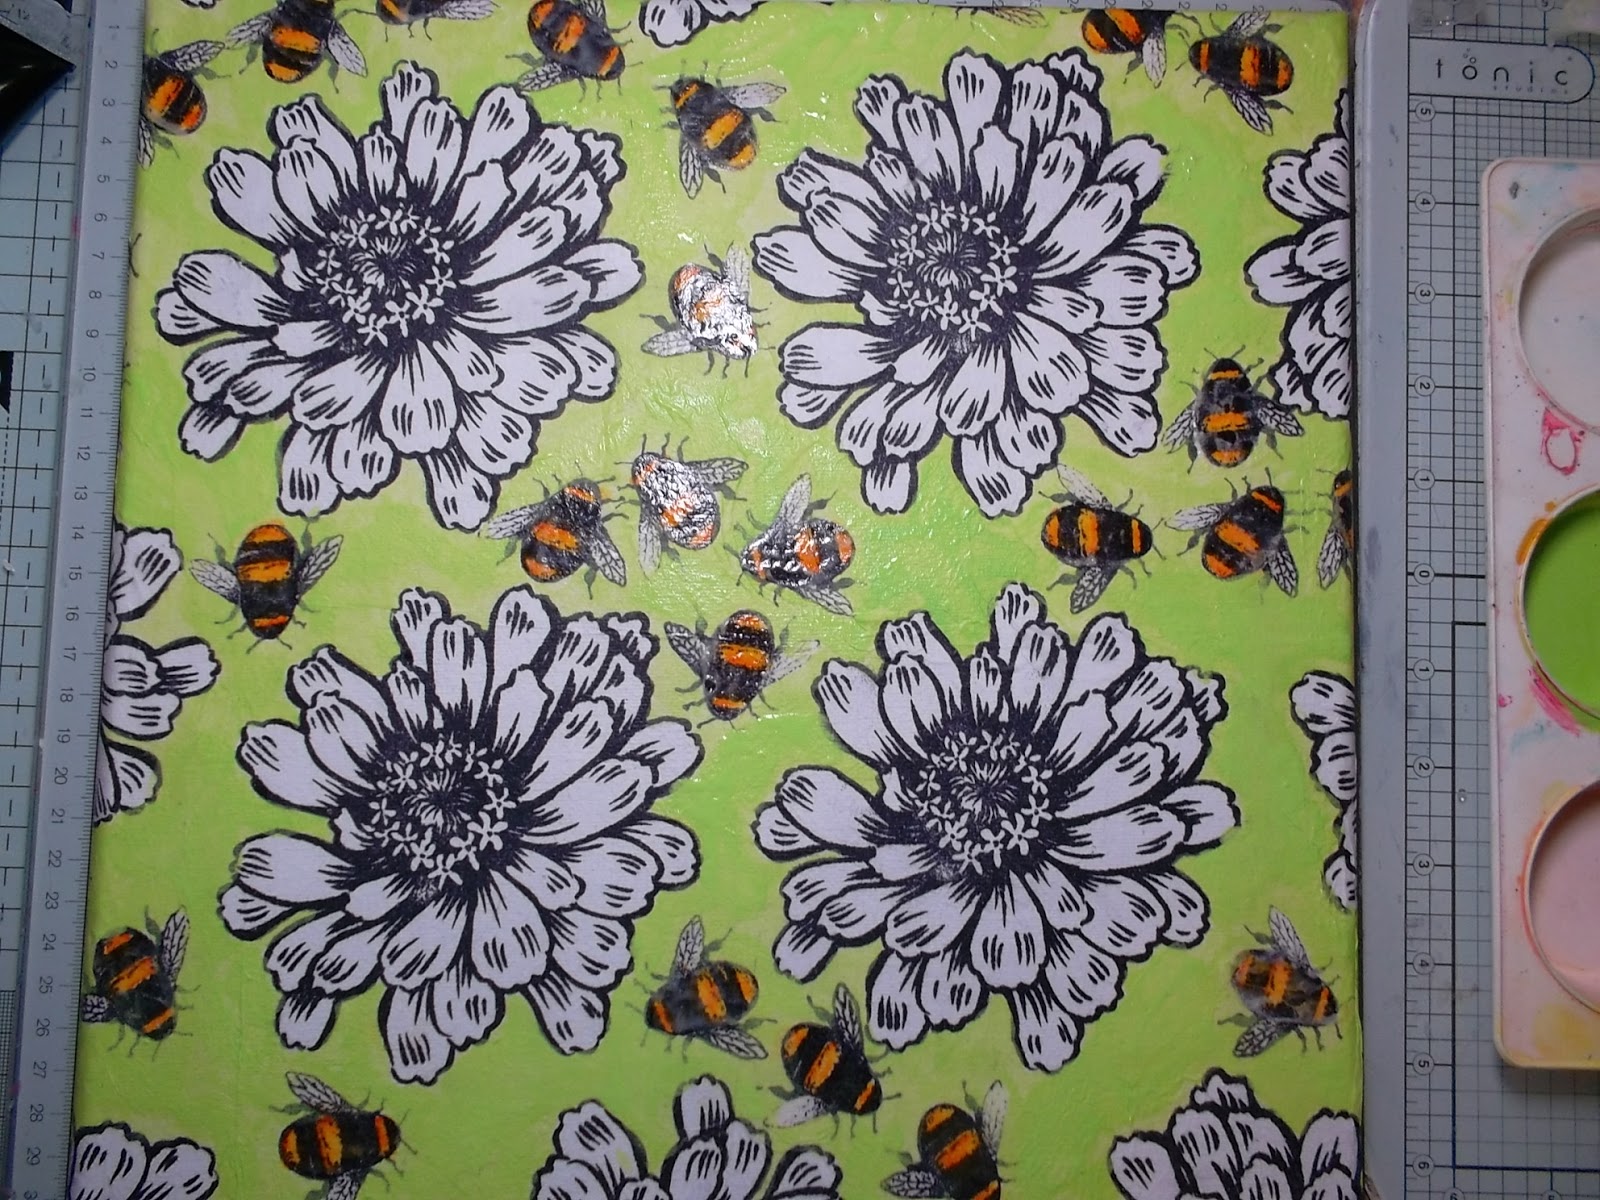
i thought that i would go back and do a canvas for this project. As its been a while since i did a project that was going to stretch me. The main focal point was at the start was the very large Flower stamp by STAMPENDOUS from their JUMBO COLLECTION called ZINNIA. These stamps are MASSIVE and if you use a stamping blocks when making an impression then a Large Stamping Block is going to be an advantage.
The Bee stamp used was one that was a 'Give-a-way' one. However there is a wonderful Bee Stamp included on the ARTEMIO Clear stamp set called INSECTS.
These stamp's as well a very intensive collection of other crafting items are available at THATS CRAFTY ON LINE STORE.
MATERIALS USED:
White Tissue Paper.
12 x 12 inch canvas.
Mod Podge - Matte
Rubber Brayer
Aleene's Decoupage Glue
Heat Gun
Red and Yellow Water Colour Marker [Here i have used AquaMarkers for the Bee's]
Pot of Gilding Flakes with a Sakura Glue Pen
Indian Ink Red and Black
Collection of Faber-Castell Gelatos
Cosmic Shimmer Spray Bottle filled with water
Mod Podge - Super Gloss
Collection of Brushes for the Mediums and Paint Container to mix up the paint
Eco Green Crafts Acrylic Paint - Zuccini
Crafters Workshop 12 inch Template - Chickenwire Reversed
Ranger Archival Ink Jet Black
Dylusions Ink Spray - Black Marble
Label Printer
LETS MAKE A CANVAS.....


At this point you can merge the colours into each other by using that wonderful FREE crafting tool....... Your FINGER! I know its the best crafting tool ever invented lol. As you can see the colours are quite transparent and you can see the lines underneath. i also placed a line of colour at the top of the canvas.

LETS GET MESSY!!! by using the Water Spray just spray till your happy with the results. By using the heat gun you can is a small way help the depth of the flow. i tried to bet differing lengths of the drips.. It doesn't matter if the base gets wet, you can use this by scraping up as much of the coloured water and place that onto the top of the canvas. By tapping the canvas you can encourage the drips to flow a little longer in depth. Also by using the heat gun it helps dry the canvas ready for the next step......

Using the glue pen and the Gilding Flakes around the flower to give some definition and also highlight the flower. Don't go all the way round the flower just pick out parts of them all. Please don't forget the parts of the flowers that are at the edges. If you just did the 4 main flowers i think it would not look right.

Using the RED Indian ink i highlighted the drips that were made in the earlier steps. Also by adding colour onto the top and then turning the canvas to a different angle gives a different look that's interesting to look at.

Last thing to do is to make some labels using a yellow and red plastic base. These machines have come down in price so much. The refills are now almost as costly as the machine its self. This is a wonderful little addition to your crafting tools box if you can afford one. Then using a pen and some Black Indian ink i just went round the labels to give them a frame and also to make them stand out that bit more.
Any questions please send me a message and i will get back to you a.s.a.p.


Comments
Post a Comment
Please leave your message here. As soon as it has been verified it will be shown on the blog. This is to just keep out spammers and people who would like to sell their products and not show an interest in what they have see on my blog. Thanks for your patience in this matter