THE PHOENIX RISES FROM THE EMBERS

This project has a journey. It started off to being this very paper orientated and was going to utilize the backing paper that was used in a package that i received.
Unfortunately [to some this may sound kinda daft but to those who know what its like will understand]. We lost a friend. Let me start off by saying she was a cat that we got from the rescue centre in the cold month of February 2012. She was a fiery little critter right from day one she was independent and had a swagger about her as she knew she was just a cute. But she gave us back unconditional love as well a lot of happy memories. Her name was Mia and i have included a photo of her as she has inspired me in the making of this project.

MIA 2010 - 2013
She died of F.I.V. which is the cats version of H.I.V. The vets told us that she probably was bitten while she was in her original home. We can be thankful that she did not suffer a long prolonged bout of illnesses she first fell ill 3 weeks ago we took her to the vets and they kept her in for 2 days as she had lost a lot of weight. Then when i felt that she was still not well we again took her to the vets. It was there that they told us her blood count had gone from a normal healthy cat to 21. They said that in a week her blood cell count at this rate would be at best 8 to 10. That means she could fight the infection that had taken hold of her marrow. So i had to take that awful decision to ask the vet to make sure Mia was in no more pain and suffering. so on the 22nd August at approx 10.45pm Mia was released from pain and suffering.
************************
So what or how did l start this project and what did i use? Well as per usual 90% of the items i used were from THATS CRAFTY ON LINE. If i didn't have a product name that they carry i can tell you that they will have an alternative to most of the materials or equipment used. So please don't think that as l have used brand B that the brand Thats Crafty On Line hold is not as good It is and 9/10 is better in a lot of cases. I only wish that i was able to have everything that they stock in my crafting arsenal.. its something im working towards lol.
PRODUCTS USED:
Silver Card.
Cricut Cutting Machine
Art Nouveau Cutting Die
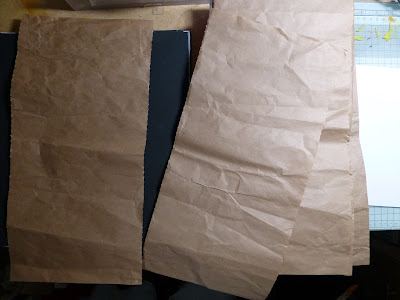
Brown Wrapping Paper
Mod Podge Mat Glue
Sheet of Bubble Wrap
Crafters Workshop 12 x 12 inch Template - Paint Lid [Use any you have]
Wooden Paint Mixer
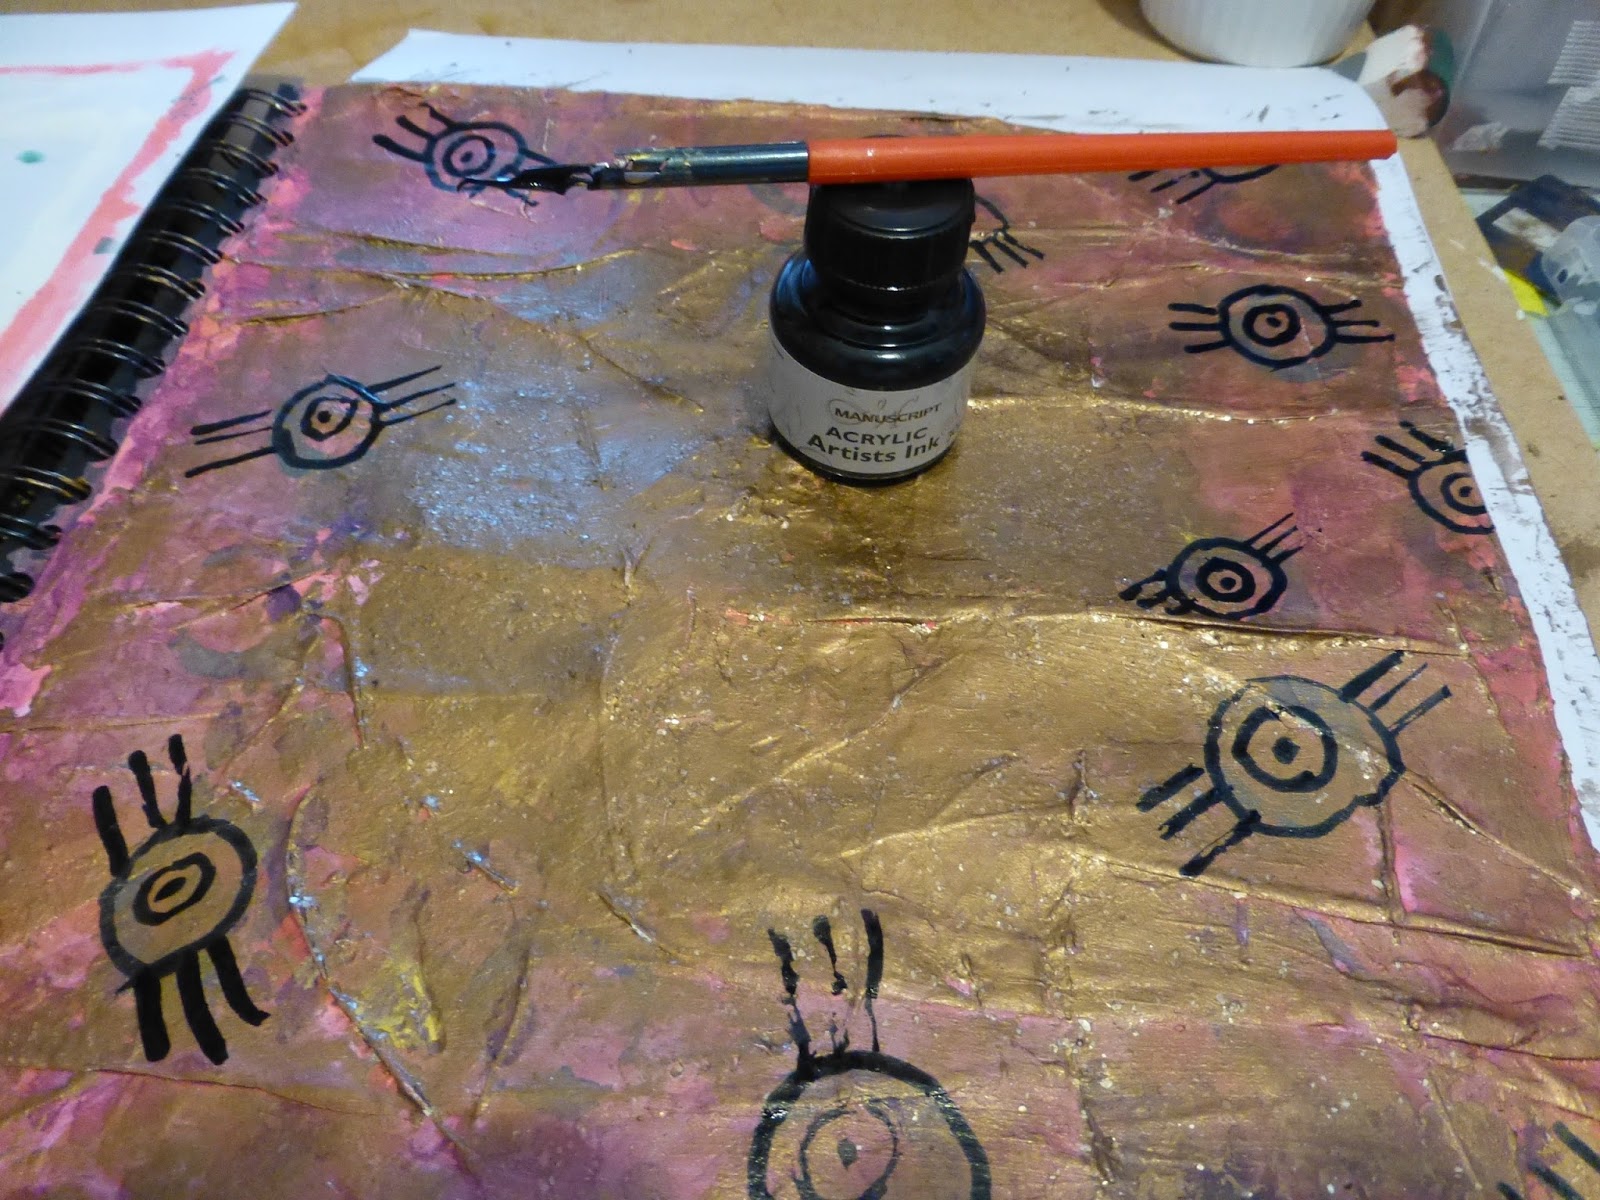
Black Indian Ink and Pen
Cosmic Shimmer Mist - Bronze and Green
NeoColour Wax Water blend Sticks [a good alternative]
Print out of a Bright orange image
JustRite Font Collection
Tim Holtz Distress Inks - Dried Marigold/Red Brick/Spiced Marmalade/Aged Mahogany
Artex or Heavy Texture Medium. i.e.. Embossing Paste
Artex or Heavy Texture Medium. i.e.. Embossing Paste
Print out of a Dolls Face from my Altered Art/Mixed Media Collection.
Old USED Store Card
LETS MAKE A PROJECT!
Old USED Store Card
LETS MAKE A PROJECT!

This was the brown paper that was used in packaging . PERFECT for a base layer!


When dry a nice interesting texture. To be added to by using a Artex medium!

This is where the OLD store card come in. It is a lot easier to spread over the surface. It also works with paint!

To help with the paint a layer of White Gesso is used.


To help with the paint a layer of White Gesso is used.

Using the selected colours placed onto a painters paper pad. [This helps with the mixing and clean up!]


Our good old friend the bubble wrap was used on the wet surface. This bubble wrap is the large version.

The finished surface......... Or is it? Only time will tell... Okay you got it.. ITS NOT!


The finished surface......... Or is it? Only time will tell... Okay you got it.. ITS NOT!

Using a gold paint and the Paris Map selected areas of the stencil are used to lay down colour.


It is not an IN YOUR FACE layer but it has subtle tones when placing more layers. You don't have to have the whole page covered with your stencil. Be selective.

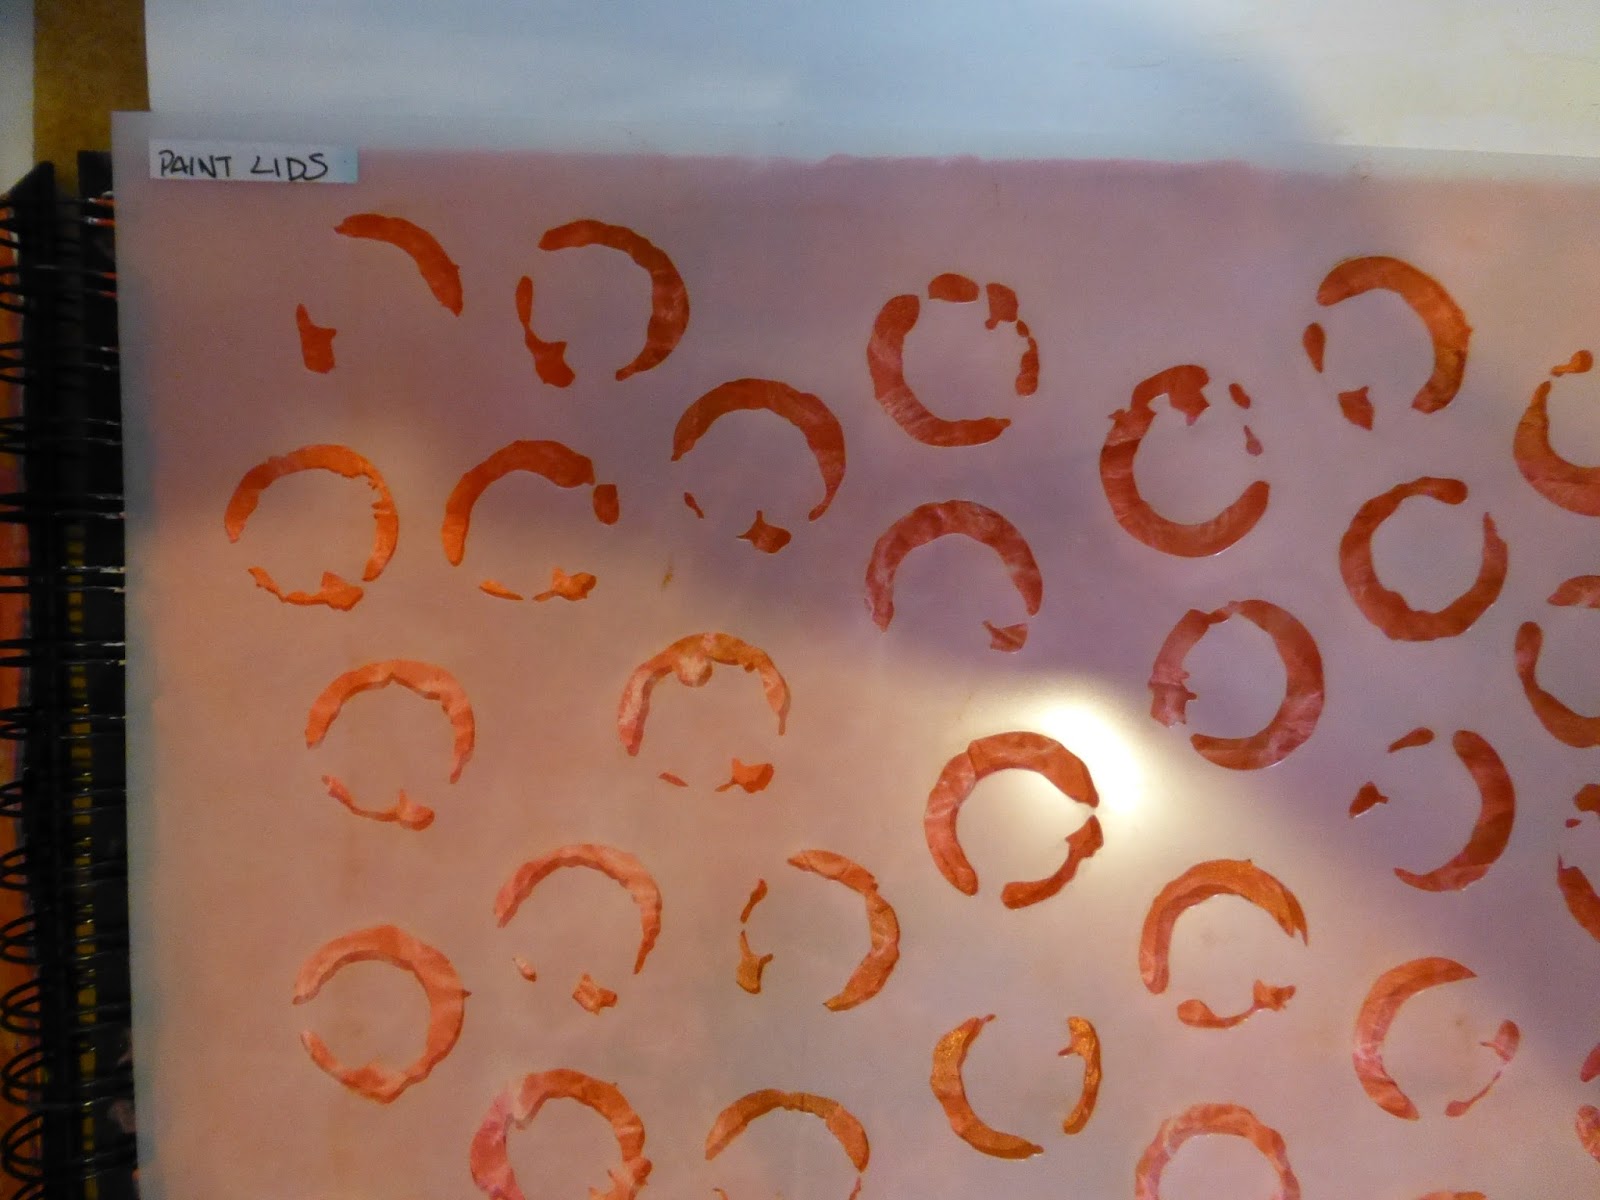
The next layer is going to be a brighter colour using a 12 inch template. Any one will do and it doesn't have to be a 12 inch if your not able to have one like this in your collection. We don't stress or worry we adapt and use what we have. Adding to our crafting stash as and when we can afford it.

This is the colour i picked for this layer.

As you can see l did not use all of the stencil, also if you can see i have gone 'Off the Page' with some of them.

Now to colour the cut out i made from the Cricut Art Nouveau Collection. As it was a glossy surface i thought these would colour better.

The finished sections.

Using the larger of the same styled Stencil i went around the edges.

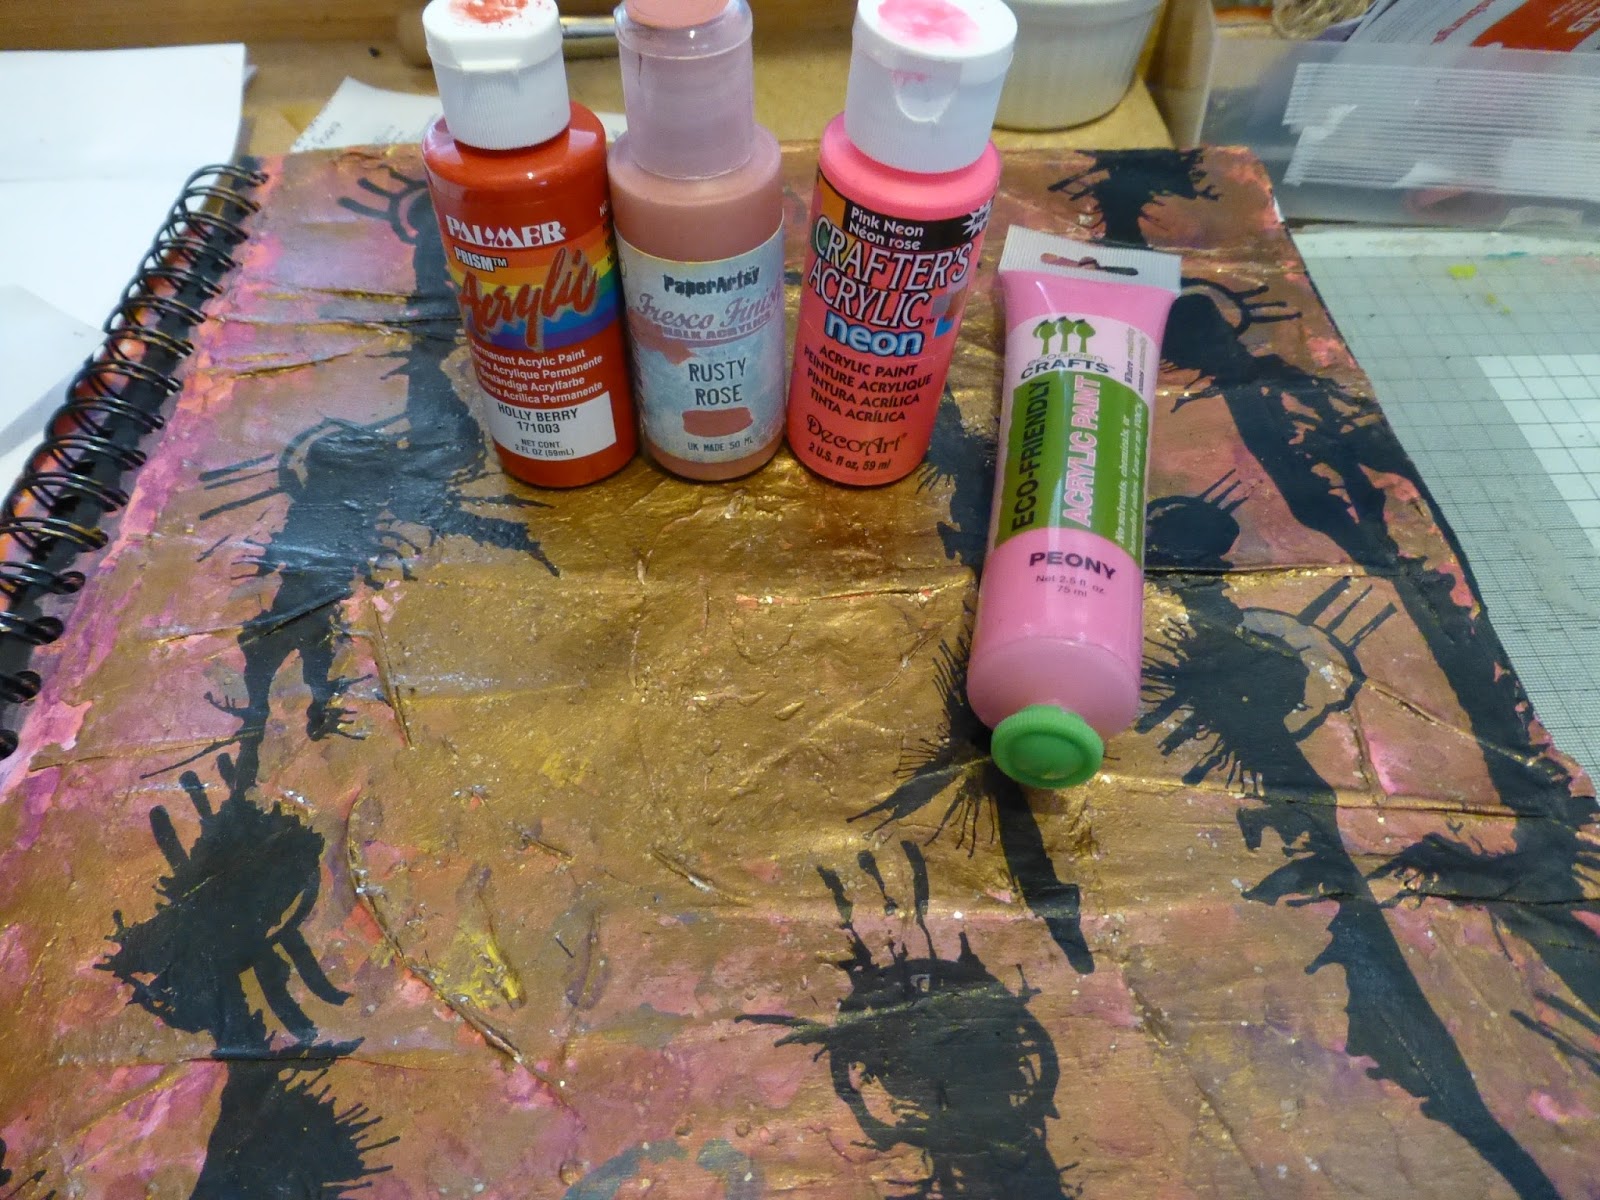
Then using the smaller or Standard stencil and a Purple and Yellow acrylic paint i started to lay down some colour.

i was now going to start on the center of the project. This is where the face and the fire would be. So using a thick gold textured paint and the credit card i started to lay down some colour.

To give a bit of 'Bling' Mica Flakes were used. This is the very first time i have used these. i bought them way way back when they were first introduced to us on a TV show.

The finished layer of gold.

i wanted to lay down some black ink. i honestly dont know why i wanted to but this was the outcome. To say i wasnt happy would be an understatement. So it was back to the reclaim drawing board!

With a dropper i placed some ink into the center of the circles and then tipped the page up and let it run down.


Using the Thin Liner pen/brush i went over the dots of colour so that it looked as if the dots had a coloured shadow on them. The mistake was starting to correct itself at long last.


Using a complementary Pro-Marker the white edges were coloured.

We some times have happy accident when something goes on that we didn't expect. This was one of them. When i added the varnish to the die cuts the varnish mixed in with the Alcohol inks causing it to become a deeply coloured varnish.

I did not like the way that the face are looked when all the varnish and alcohol mixed in . So using a craft knife i scrapped away as much as i could and then laid down a base coat of acrylic paint so i could then glue a image of a head into that space. To help decorate the head using the coloured pearlecent pva glues to give some detail around the top frame and the neck region.

Once the face had been glued into place as you can see by this photo how the flames and the colour of the head are working well together. This was very much a pleasant suprize!

As in last weeks project the good old JustRite Font sets came into play. As i was going to be using the Distress Inks pads i had to use a waterproof ink. Archival fits that brief.

The selected Distress Ink Pads. They work well with the final project and they don't look as if they are just stuck on.. i didn't take great care and composure when i was laying down ink colour in fact it was on this case 'Dip' and 'Blod'.
There you have it what l hope is a fitting tribute to a lost friend.
Any questions please send me a message and i will get back to you as soon as i can.
HAPPY CRAFTING
ALAN

This is the colour i picked for this layer.

As you can see l did not use all of the stencil, also if you can see i have gone 'Off the Page' with some of them.

Now to colour the cut out i made from the Cricut Art Nouveau Collection. As it was a glossy surface i thought these would colour better.

The finished sections.

Using the larger of the same styled Stencil i went around the edges.

Then using the smaller or Standard stencil and a Purple and Yellow acrylic paint i started to lay down some colour.

i was now going to start on the center of the project. This is where the face and the fire would be. So using a thick gold textured paint and the credit card i started to lay down some colour.

To give a bit of 'Bling' Mica Flakes were used. This is the very first time i have used these. i bought them way way back when they were first introduced to us on a TV show.

The finished layer of gold.
i wanted to lay down some black ink. i honestly dont know why i wanted to but this was the outcome. To say i wasnt happy would be an understatement. So it was back to the reclaim drawing board!

With a dropper i placed some ink into the center of the circles and then tipped the page up and let it run down.
Using a small brush i took some different acrylic colours and placed dots along each of the drops. i was still trying to find a way to recover from the Black Circles!

Using the Thin Liner pen/brush i went over the dots of colour so that it looked as if the dots had a coloured shadow on them. The mistake was starting to correct itself at long last.

This is when l now wanted to add the fire. i used the wax sticks first and then [sorry forgot the photo] i used matching Gelato sticks to give the impression of fire. when they were rubbed in and blended i took a water spray and just put enough water down so that it started to drip.

Now for the FIRE. i took an digital paper that i have in my digital stock and compressed it from 12 inches to A4. This caused it to become something different. Then after printing it out using a pencil and free hand i started to draw flames. These would be ripped out free hand.


We some times have happy accident when something goes on that we didn't expect. This was one of them. When i added the varnish to the die cuts the varnish mixed in with the Alcohol inks causing it to become a deeply coloured varnish.

I did not like the way that the face are looked when all the varnish and alcohol mixed in . So using a craft knife i scrapped away as much as i could and then laid down a base coat of acrylic paint so i could then glue a image of a head into that space. To help decorate the head using the coloured pearlecent pva glues to give some detail around the top frame and the neck region.

Once the face had been glued into place as you can see by this photo how the flames and the colour of the head are working well together. This was very much a pleasant suprize!

As in last weeks project the good old JustRite Font sets came into play. As i was going to be using the Distress Inks pads i had to use a waterproof ink. Archival fits that brief.

The selected Distress Ink Pads. They work well with the final project and they don't look as if they are just stuck on.. i didn't take great care and composure when i was laying down ink colour in fact it was on this case 'Dip' and 'Blod'.
There you have it what l hope is a fitting tribute to a lost friend.
Any questions please send me a message and i will get back to you as soon as i can.
HAPPY CRAFTING
ALAN


Another great project. I will have to save some brown packing paper :) The black turned out to be a nice border, you did a good job on that. The saying reminds me of Harry Potter but the image is perfect. The flames are great.
ReplyDeleteMia was very pretty. I had tears when I read about Mia. I am so glad she had a wonderful life for the last couple of years. The greatest love is not to see something suffer. We are down to 2 cats and 2 dogs.
Thanks for sharing such a beautiful project. I have a beloved cat and have also suffered the loss of our previous cat, so do understand what you are going through. I am sorry for your loss.
ReplyDeleteHi Alan, to me it is a fitting tribute. I'm sorry to hear of your loss - a special little someone in your life. Your artwork is beautiful. I really dig your flames. Thank you so much for sharing the details and break out photos.
ReplyDeleteTake care and STAY POSITIVE!
I am so sorry to hear about Mia, our pets certainly touch our hearts and then break them when they have to go before us..... I have lost 2 furry felines and each time I have said No more, but another comes along... I have 3 now and love them dearly even though they love getting cat hair over my projects and playing with my ribbon!!! Poppy Tinx and Misty send purrs..... love the project, such different ideas and will have to have a try.....
ReplyDeleteYour project is awesome! I love the colors and how you added to the black splats! Your directions, as always, are phenomenal!
ReplyDeleteIt is so difficult when you lose a member of your family. Mia became part of your life and as we know the death of a pet is a tragic loss. You honored her with this wonderful tribute. Take care.
Can i thank you all for posting such kind words and messages of support from the tragic loss of a friends life.
ReplyDeleteIm so pleased that you think my tribute to her is a fitting one.
Thank you again it means a lot.
Alan
A lovely project, and I am sorry about the loss of your pet, we lost a cat to this a few years ago and its is so sudden and unexpected. x
ReplyDelete