MAN WITH A HAT Tag

This is a project involved using a set of stamps that l have been looking forward to getting my grubby mit's on This follows on from the last project l posted however this time its more of a MALE themed one.
For a change this time l stamped onto some cardboard that was used to pack something that l ordered. Us crafter's never throw anything away that can be used! So much so l also dived into the 'Scrap Paper' bucket to build up layers on the tag.
The stamp set is called Man About Town from Dylusions and is available from THATS CRAFTY ON LINE STORE.
As l normally do if l have used a product that's not available @ Thats Crafty on Line then l have pointed you towards an alternative that is freely available. That way if you wanted to obtain something similar that you have seen promoted on my project then your able to get almost the same results.
PRODUCTS USED:
Some old packaging cardboard.
Dylusions Stamp Set's: Clear Stamp Set Man About Town ~ Further Around the Edge
Paper/card/ribbon from our Scrap's bucket/box/containers
Acrylic Paints: Here l have used EcoGreen CraftsAcrylic Paints: Clay~Pumpkin~Gourde.
Stencils - Here l have used Cell Theory [I will ask Laura if she can stock this wonderful stencil] If you look at the Stencils/Masks that are available you will be spoilt for choice] ~ Well Rounded
Inkssentials Blending Tool.
Prima Cling Mounted Stamp Set: Stitched Stamps [There is a stamp collection of 4 different designs. If you can afford them they are another super addition to your stamp collection].
Orange fruit netting.
Set of small Wooded handle Type Face Stamps. [This l think is the smallest type face in store.]
Baby Wipes [Cheap and cheerful one's]
LETS MAKE A TAG!

The first thing we have to do after we have selected our tag is to dive into that 'scrap paper 'box and dig out some paper, card and ribbon to start making the base layer for our tag.

Here are the final pieces ready for selection. I have already cut the paper/card to the widths l would like to use and the other fabric pieces are there just in case l want to use them. The larger lace piece is something l DO WANT to use!

Using the Tombow glue stick i start to lay down layers, trying very hard not to be clinical about it but more free spirited. I do know that some crafter's this will be like climbing Mount Everest! But trust me the more random you are the better the final tag will look.

Here is my tag. As your able to see its not clean cut so to speak but l do hope that l have been able to place my 'Off cut's' in a random way. The next step will now have you thinking.....
'So why did Alan tell us to be random and not clinical when we are going to be doing THAT!'

Using a white Gesso its now time to make our base layer ready to take a paint. Okay we can paint right on top of the card and the lace etc..
However the reason that we use a product like Gesso is because it helps us get a true colour as well as helping us have a surface that will take the paint. Lace and paper are two different materials. So by using gesso we are now giving all our materials used a level playing field.

This is how my tag looked after l had used the Gesso. There is nothing stopping you from using a baby wipe to help with the different depths of Gesso.

Now then after the Gesso has dried we have to get it wet again!.
Only this time we are putting some water down so that when we add paint from the tube we are able to mix it around so then the paints combine and don't become a 'mucky' mess.

These are the Acrylic paints that l have decided to use for the background part two. I have kept it to 3 different colours that will work together. They are also a masculine feel about the colours as well as being Autumnal as well.

Here is the tag after the acrylic paints had been moved around the tag. Once again there is nothing in the Good Old Crafting Project Book that says you cant use Baby Wipes when your laying down colour. They are one of the most important items we should have not only for cleaning up but for helping in the depth of colour. Plus if you go back to a previous posting l showed you how to make flowers from dry baby wipes that had been used to help with the laying down of colour.
 Now then l have to hold up my hand and say that this is the first time l have ever used this product. I saw it on a video about 18 months ago and as you do ordered it and by the time it arrived l had moved onto 15 projects further on. So it was placed on the crafting shelf and to my horror forgotten about.. [I have slapped the back of my leg for doing this awful thing].
Anyway l could say that the tag came about because l wanted to use this GooseBumps, however it was while l was searching for something else that l came across it again. So after l had made myself a cuppa l logged on to Y-Tube so that l could refresh my very crowded brain on how and what it did.. Oh it did such wonderful things it had to be used there and then!
The only this was what Stencil would l use? I have a few in my collection.. okay l go to several meetings where we talk about our need for masks and stencils. Its a long process however there are no medications out there that will help my addiction. This is one of my fav's. Its a wonderful stencil that's open to so many projects. Its so random it takes away that feeling Oh are they same? is it the same size?. Its wonderful there are not many stencils l would say are a MUST MUST have this one is such a one as it will work with anything.

Now then its time to start building up layers and colour. The first is to take a pad and just rub the pad across the tag. As GooseBumps is a glossy surface you can wipe the ink layer off them.

This is how it looks before the ink is wiped away.

After the ink is removed.
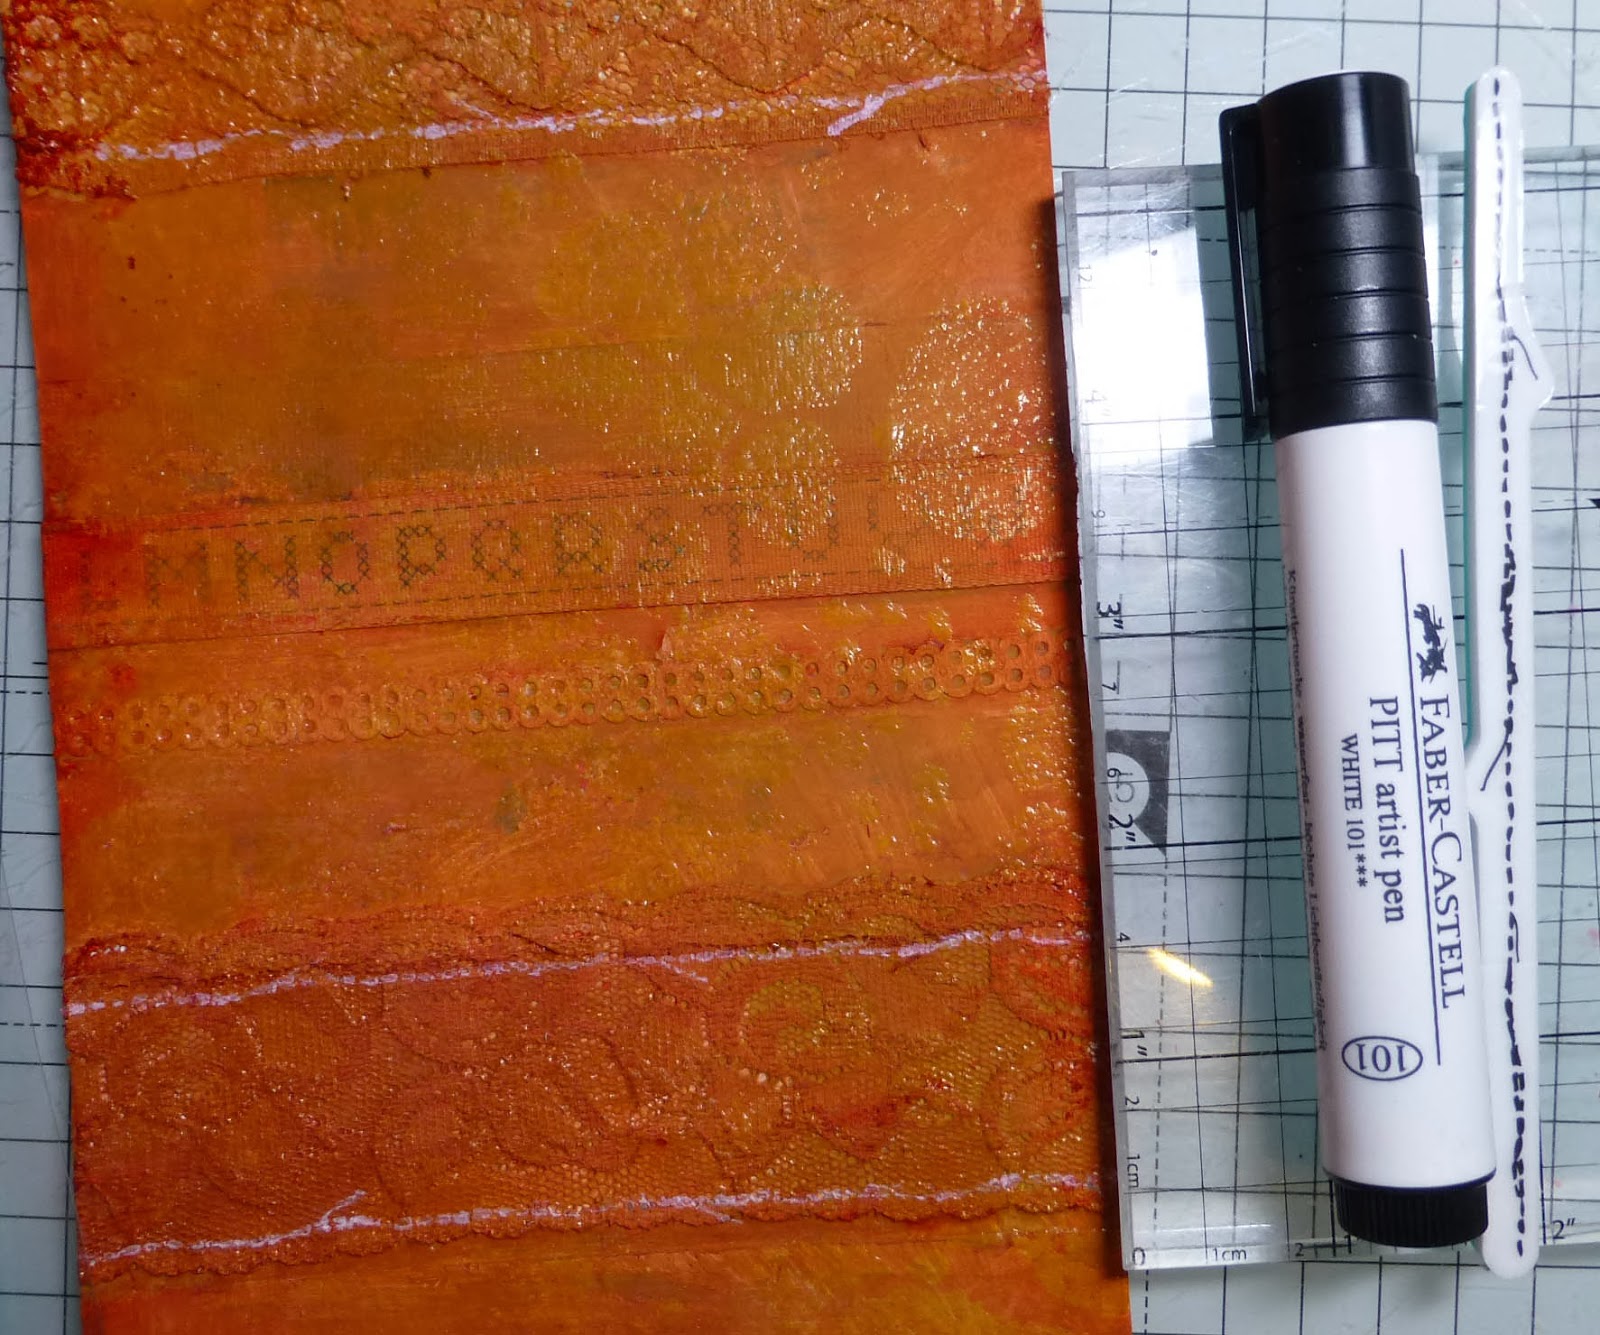
Using the white pen and coloured the stamp rather than using a ink pad. The next two stamp sets are among my fav sets. This one is using the straight stitch line stamp from Prima. The do a set of 4. Straight, Oval,Square and Rectangle. They are highly detailed and are worth every penny they cost. The next is also for me a must have....

The final layer of stamps using an Tim Holtz Distressing Ink Pad. This is wonderful stamp set. It has so many uses. Not just for Tags but also Canvas and card projects.

Unfortunately my brain has gone totally blank with the name and manufacturer of this distressing tool. When l find out l will do an edit and then amend it. It ink's up and then you just roll the stamp along a line. Your able to remove the 'head' and make it change direction rather than pushing and pulling.
I also have an apology. As you can see there is some gold. This was done using an Antique gold acrylic paint and the Crafter's Workshop 'Well Rounded' Stencil another one l have so many ideas with and for.

As you can see the lines have made a interesting addition to the feel of the tag. Here your able to see how the gold acrylic paint has just laid down not a solid layer but one that's just running over the top of the layers below. I think that the layer in question was a lace one.

Now lets start to build up the figure. I wanted to do something different so that's why l decided to use some old packaging as the base to stamp onto. Also with using a Stazon ink pad this will give me a great impression.

Using a collection of Distress Markers from Tim Holtz and a water brush l started to lay down some colour. Now then the next photo will show you the results. Its a more muted feel. No matter how bright the original hue is.

As you can see the colours are very muted and they have a 'aged' feel about them. Then as l like to do l took a light grey coloured pen and just went round the edge. This would help the final look after l had cut it out. I don't like having to cut along a line. I always make a slip up no matter how slow and careful l go. So this saves me all the pain and aggravation!

I wanted to add something else to the tag and not just have the figure and a hat. So l decided to dive into a old friend when it comes to stamping. If in doubt grab a Dylusions edge stamp. Works almost all the time. They are also very good for covering up those small mistakes!
This time l opted to use the Timber brown Stazon Ink Pad, stamping on some good stampig card.Please always remember to clean your stamp as soon as you have finished stamping, Use a cleaner that's recommended for Stazon ink pads and not just your normal cleaner/baby wipe.

Once again dipping into the Distress Marker Pens, this time l have opted to keep it to the 'Browner' side of the colour spectrum.

After l had finished colouring in the flags, to cut it out from the main l opted to use a sharp craft knife. If l had used a pair of scissors for the main flags it would make the card fold and distort l did on this occasion want the flags to be flat. Scissors were used to cut the straight line that l had made at the top of the flags.

To secure into place l used some double sided foam pads. Also aided with some strong clear acrylic craft glue.

Now then this is where the fun starts. I was using this netting when l was playing with my Gelli Plate. [some projects coming up using that product soon....] anyway l thought it would be just a great addition to the tag.
So using double sided tape......

Just putting a strip along the edge. This double sided tape is very strong. So it will hold the fine netting in place.

After the net had been secured at the back this how the front looked.

The next thing was to place the same foam double sided tape onto the reverse side of the figure. Not forgetting the hat!

I found these stamps in a bargain bucket at some craft show/store. Well as they were only £1 l decided to dive in and l came across just 3 sets. They are perfect for those smaller jobs that need small wording on them. So never pass a barging bin unless you have first been to the bottom of that bin.
To keep it in the same colour family l opted to use a good stand by Espresso Ink Pad from Adirondack. On a small piece of white stamping card. Again a scrap that's never thrown away!

Using a ink distressing tool and Vintage Photo Ink pad. the wording was coloured in.

After the blending tool had done its job the next step was to cut the word out. Then picking each one up and rubbing the edge along the ink pad it 'Framed' the wording.

The final part of this project was to secure the wording onto the tag. So using the clear strong acrylic glue and a pair of tweezers the wording was given its rightful place.
Hope you all enjoyed this project. It was one that evolved as l was making it. I enjoy those kind of things when you can just open the crafting arms and welcome everything in.
Any questions please send me a message and l will get back to you as soon as possible.


Comments
Post a Comment
Please leave your message here. As soon as it has been verified it will be shown on the blog. This is to just keep out spammers and people who would like to sell their products and not show an interest in what they have see on my blog. Thanks for your patience in this matter